Short answer: Keep the original, then make a smaller copy sized for where the image will be shown. For most web and social uses, a 4096 × 4096 AI image is far larger than it needs to be. Pick the display size, crop to the right shape, choose a format that suits the picture, and check the result at 100% before you upload.
Image models keep getting sharper. On November 11, 2026, MiniMax released H3-Image, an open-weight model that, according to MiniMax's announcement, can generate a 4K (4096 × 4096, or 16 megapixel) image in under 10 seconds. Creators on X were soon sharing the results. A full-size output is great as a master file. It is rarely what you want to publish.
This guide is tool-agnostic first, then shows how to do each step with a browser extension. It isn't specific to one model: the same steps apply to any large image from any generator, camera or screenshot.
Why a 4K image is too big for most uses
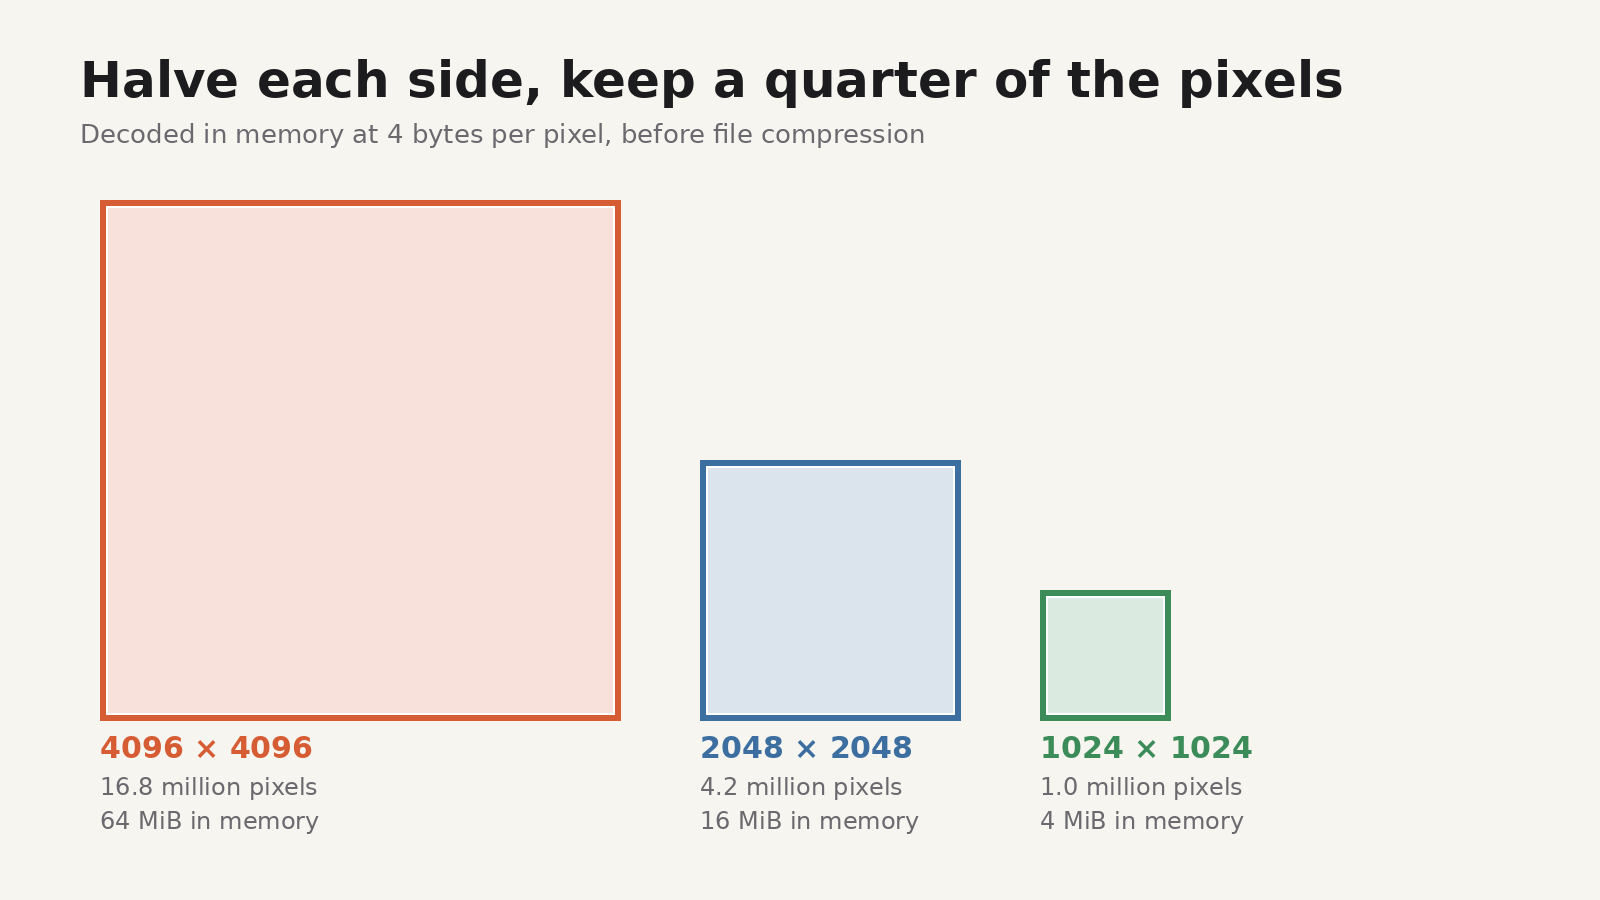
A 4096 × 4096 image has 16,777,216 pixels. Every time you halve the width and height, you keep a quarter of the pixels.
| Size | Pixels | Decoded in memory (4 bytes per pixel) |
|---|---|---|
| 4096 × 4096 | 16.8 million | 64 MiB |
| 2048 × 2048 | 4.2 million | 16 MiB |
| 1024 × 1024 | 1.0 million | 4 MiB |
"Decoded in memory" is the space an image takes once a browser or editor opens it, before any file compression. Even if the file on disk is a few megabytes, every app that opens it has to handle the full 64 MiB. Pages with several full-size images load slowly and can feel heavy on a phone.
Display size matters more than file size. If a page shows an image 800 pixels wide, a 4096-pixel-wide file only adds download time. Sites and social platforms also resize uploads themselves, usually with their own compression, and you don't control how well they do it. Resizing yourself gives you control over the result.
Step 1: Keep the original
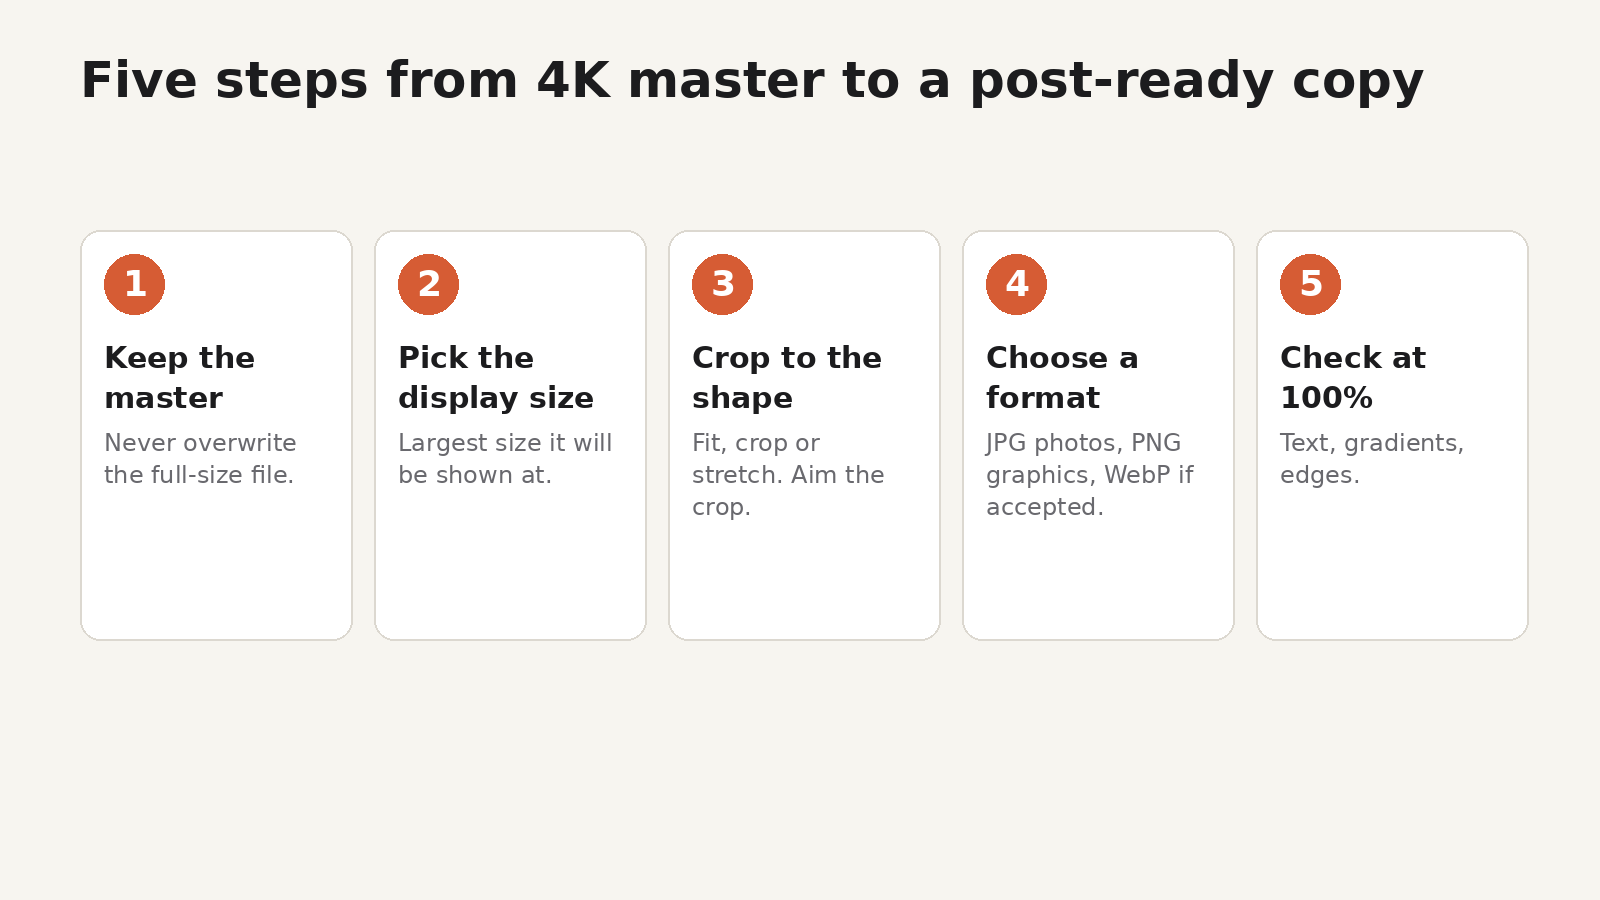
Save the full-size output somewhere safe and never overwrite it. It's your master. You can always make a smaller copy from it, but you can't recover detail from a smaller copy. Name copies by purpose and size, for example harbour-1600x900.jpg.
Step 2: Decide the size from the destination
Ask where the image will appear and how large it will be shown:
- A blog or web page: the width of the content column, often 800 to 1,600 pixels. A larger file only helps if the image can be opened full-screen.
- A social post: use the platform's current recommended size. Specs change, so check the platform's help page or use a preset.
- A thumbnail or avatar: small, and square or cropped to the shape the platform uses.
- A print or wall display: this is where you might keep more pixels.
When in doubt, resize to about the largest size the image will be displayed at, with a little headroom for sharp high-density screens.
Step 3: Crop for the shape, not just the size
Most AI generators output squares by default, while many places want 16:9 banners, 4:5 portraits or 1.91:1 link cards. Squashing a square into another shape stretches everything. Instead:
- Fit keeps the whole image and adds empty space on the sides.
- Crop keeps the full frame and cuts the edges.
- Stretch distorts the picture. Avoid it for anything with faces or text.
With crop, choose the part you want to keep. If the subject is off-centre, aim the crop at it so the subject survives the cut.
Step 4: Choose the file format
- JPG suits photo-like images with smooth gradients and a lot of detail. It makes small files, and it doesn't support transparency.
- PNG suits graphics, screenshots, logos and anything with sharp text or flat colour. Files can be large for detailed images.
- WebP usually makes smaller files than JPG or PNG at similar quality, and is supported by current browsers. Check that the place you're uploading to accepts it. If not, convert WebP to JPG.
Step 5: Aim for a file size, then look at the result
If a site limits uploads, or you want a lighter page, set a target file size and let the quality adjust to get as close to it as it can. Then check the result. Open the resized copy at 100% and look at:
- Text and signs in the image. AI-generated lettering is already fragile, and heavy compression makes it worse.
- Smooth areas such as skies and skin. Look for banding or blocks.
- Edges and fine detail. Hair, fabric and thin lines show compression first.
If something looks off, raise the quality or the size a little and try again.
Doing it in your browser with Image Resizer
Image Resizer is a browser extension for Chrome and Firefox, made by UnifyBrowse, that resizes, converts and compresses images in the browser. Its features line up with the steps above:
- 22 presets for Instagram, Facebook, X, LinkedIn, YouTube and WhatsApp, or custom dimensions up to 16000 × 16000 pixels.
- Stretch, Fit and Crop modes, with a focal-point control so you can aim the crop.
- Aim for a file size: enter a limit and the extension lowers the quality to try to reach it. The target isn't guaranteed, so check the final file size.
- Convert between JPG, PNG and WebP. It also reads HEIC and BMP.
- Batch up to 5 images per run, and download one file or a whole run as a ZIP.
- Save up to 3 reusable profiles, so the "blog header" setup is one click next time.
- Get images in several ways: drag one in, paste from the clipboard, or right-click an image on a web page and choose Resize this image, then open Image Resizer from the browser toolbar.
The Free plan processes up to 5 images per run and downloads them one by one or as a single ZIP. Pro, a one-time €7.99 purchase, removes the 5-image limit, keeps up to 20 profiles, adds multi-preset export packs and activates on multiple browsers. The pricing page has the details, and the 1.0.0 release notes explain which features use the network, such as Pro license checks.
We haven't published a test of Image Resizer on any specific AI model's output, so check the result on your own images, especially the text and gradients.
FAQ
What size should I resize a 4K AI image to?
Resize to about the largest size it will be displayed at. For a blog column that's often 800 to 1,600 pixels wide. For social, use the platform's current recommended size or a preset.
Does resizing reduce quality?
Making an image smaller discards pixels, so it has less detail than the master, but at the size you display it you usually can't tell. Keep the original so you can make other sizes later.
Should I upscale a small AI image to 4K?
Upscaling makes more pixels but doesn't add real detail, so it's rarely useful for web posting. If you need more detail, regenerate or upscale in the tool that made the image, and keep the result as a new master.
Which format is best: JPG, PNG or WebP?
JPG for photo-like images, PNG for graphics and sharp text, WebP when smaller files matter and the destination accepts it.
Do I need an extension for this?
No. Any image editor can do it. An extension is convenient when you resize images you find or generate in the browser, because you can start from the page without saving the file first.